Chart Editing
Chart Editing
This page explains the basic elements of chart editing in DyNode.
Editing Modes
DyNode has five editing modes, which you can switch between using the number keys 1 through 5.
- Placement Mode: Use number keys 1–3 to place notes. See Placing Notes.
- Edit Mode: Press 4 to edit notes, such as selecting, modifying, or deleting them. See Notes.
- Playback Mode: Press 5 to preview the chart. In this mode all effects are enabled and editing features are disabled.
Tip on Chart Optimization
DyNode has optimized the rendering method for playback mode. Only in this mode can DyNode efficiently render a large number of objects.
While DyNode can still handle editing a large number of objects, an excessive number of on-screen notes in non-playback modes will significantly increase the performance load on DyNode. Therefore, when editing charts in non-playback modes, it is recommended to keep the density of on-screen notes within a reasonable range.
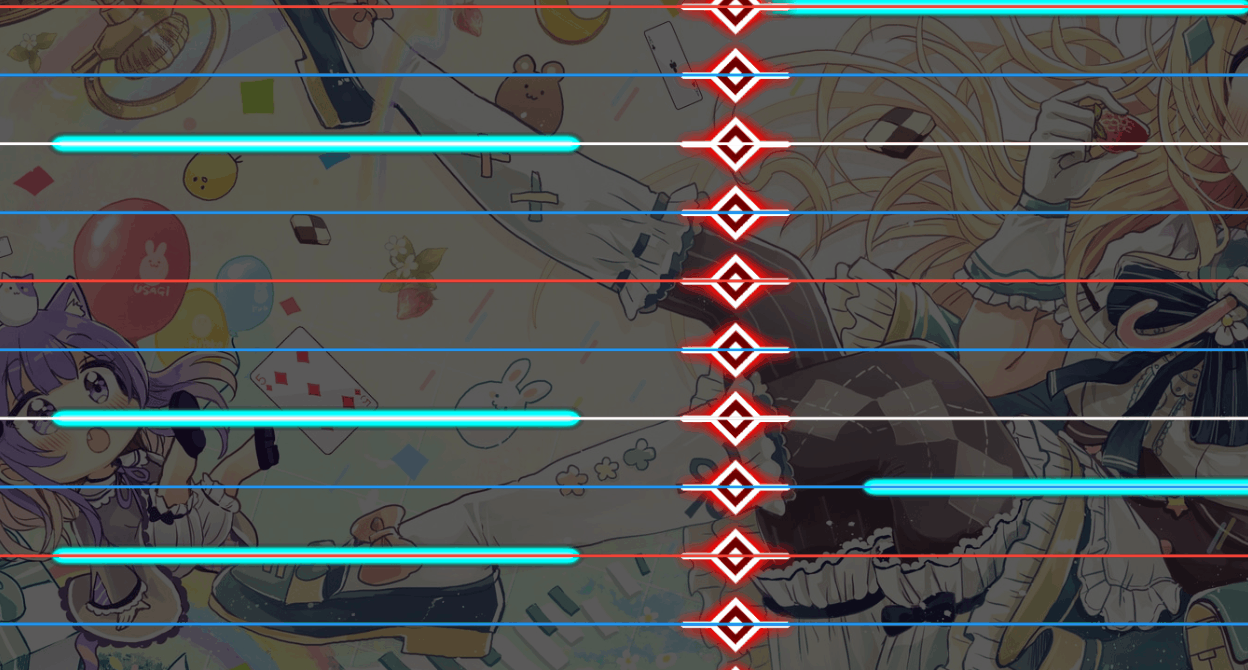
Notes
There are three types of notes:
- Note (Tap): A single-tap note, the most basic type.
- Chain (Slide): A slide note that registers as long as there is a continuous touch.
- Hold: A note that must be held until its tail is reached and then released.
In addition, the XML data format includes an extra type:
- Sub: The tail note of a Hold, where only the timing data is meaningful.
Placing Notes
- Press the number keys 1–3 to select the note type you wish to place.
- Locate the desired position and, for a Note, press and hold while dragging to adjust its length, then release to place it.
- If placing a Hold note, after placing the head, continue to select the tail and tap to place it.
The width of the last manually placed single note will become the default width for subsequent note placements.
Moving Notes
Simply drag to move.
To move an entire Hold note, if only a single Hold is selected, hold Ctrl and drag its head. In multi-select mode, a Hold note will be moved as a whole.
Selecting Notes
Click on a single note or drag a selection box with the mouse to select multiple notes.
You can hold Ctrl to individually click or box-select notes to add or remove them from the selection.
Snapping Notes
Double-click a note.
When snapping multiple selected notes, the double-clicked note becomes the snap center.
Clicking again will place the snapped notes.
You can use Ctrl + ←/→ or Alt + Mouse Wheel to change the snap center note.
Batch Operations
Batch Moving / Snapping Notes
After selecting notes, drag them with the mouse or use the snap function to move all selected notes simultaneously.
Batch Deleting Notes
After selecting notes, press Backspace or Delete to delete them.
Batch Adjusting Note Widths
After selecting notes, hold Ctrl and use the mouse wheel to quickly adjust their width, or use Ctrl+V to paste the default width.
Copying Note Width
After selecting a single note, use Ctrl+C to copy its width as the new default width.
Copying Notes
After selecting notes, press Ctrl+C to copy them; a prompt will indicate the number of notes copied.
Use Ctrl+D to quickly duplicate the selected notes to the next beat following the latest note among them.
Pasting Notes
After copying notes, press Ctrl+V and click where you wish to place the copied notes, just as if placing new notes.
When pasting, the note with the earliest time among the copied ones is used as the center. If you wish to change this center (for example, to use the last note as the center), use Ctrl + Left/Right to switch.
You can press Esc to exit paste mode, or simply switch modes with the number keys.
You can also use Up or right-click to change the falling side for the paste.
You can use Ctrl+1/2 to batch-convert the pasted notes.

Multi-select Across Sides
Switching the editing side does not clear the current selection, so you can select notes from different sides simultaneously. For example, after selecting multiple notes on the left, you can switch to the front and hold Ctrl to continue selecting notes there.
Selected notes can still be subject to batch operations such as copy, paste, snapping, dragging, and width adjustment. However, when multi-selecting across sides, the behavior and logic of editing may change.
Toggling Multi-select Binding Across Sides
By default, when multi-selecting notes across sides, the properties of all selected notes are bound together. This means that if you drag a note on the front, the notes on the side will move accordingly.
If you wish to avoid this, press B to unbind the properties. In this case, only notes on the current editing side will be moved.
This function currently only takes effect during note dragging.
Select All Notes
Press Ctrl+A to select all notes within the visible area of the screen.
Mirror / Symmetrical Notes
After selecting notes, press M to mirror them about the center of the current editing side. Press Ctrl+M to mirror-copy the selected notes.
After selecting side notes, press R to symmetrically move the notes to the opposite side. Press Ctrl+R to symmetrically duplicate the notes.
Undo and Redo
Use Ctrl+Z to undo and Ctrl+Y to redo your actions.
Default Width
The default width is the width setting from the last single note you placed.
Setting the Default Width
When placing a single note, you can drag horizontally (or vertically) to adjust the default width.
You can also press K to manually input your desired default width value. This will update the default width for the current editing side.
Alternatively, after selecting a single note, use Ctrl+C to copy its width as the new default width.
Default Width Mode
DyNode provides four modes for setting the default note width. In Dynamix, for the front side, the width is set in pixels, while for the side the width is half that of the front when set to the same value. For example, if both front and side notes are set to a width of 1.0, the front note will be 300 pixels wide, while the side note will be 150 pixels wide. This also affects the game's hit detection.
Press L to change the default width mode. There are four modes in total, and the default width settings in each mode are kept separate. In other words, changing the default width in one mode does not affect the others, so you can switch between modes as needed.
Uniform Width
This is the default mode in DyNode. In this mode, the default widths for the front and side are bound together and remain equal.
Tips
This is also the method used by Dynamaker for handling default widths. If you feel this feature is too complex and unhelpful, you need not change the default width mode.
Visually Consistent
In this mode, the default widths for the front and side are bound together, and the side's default width is always twice that of the front.
For example, if you change the front default width to 1.0, the side's default width will automatically change to 2.0, and vice versa.
Tips
Unlike the other modes, in the visually consistent mode, pasted/snapped notes will automatically adjust their width to remain visually consistent.
Front and Side Separated
In this mode, the default widths for the front and side are separate, but the default widths for the left and right sides are bound together.
In other words, changing the default width for the front will not affect that for the side, and vice versa.
All Sides Separated
In this mode, the default widths for all editing sides are completely independent.
That is, changing the default width on any editing side will not affect the others.
Editing Side
Switching Editing Sides
Use Up or right-click drag to switch the editing side.
The highlighted timing line indicates the side you are currently editing.
The available editing sides are:
- Front
- Left
- Right
- Dual-sided Editing
Dual-sided Editing
Additionally, you can swipe up using Up or right-click drag to switch to dual-sided editing, where you can seamlessly edit notes on both the left and right sides simultaneously.
In this mode, some editing interactions may change.
Fading Non-Editing Side Notes
Press F to fade out notes that are not on the active editing side.
Toggling Falling Note Type for a Side
After switching the editing side to Left or Right, press Ctrl+F to toggle the falling note type for that side.
- MULTI: Allows placement of Note, Hold, and Chain notes.
- PAD: Allows placement of Note and Hold notes.
- MIXER: Allows placement of Chain notes, with a slider effect.
In the current version, there are no strict restrictions on the types of notes placed in these modes.
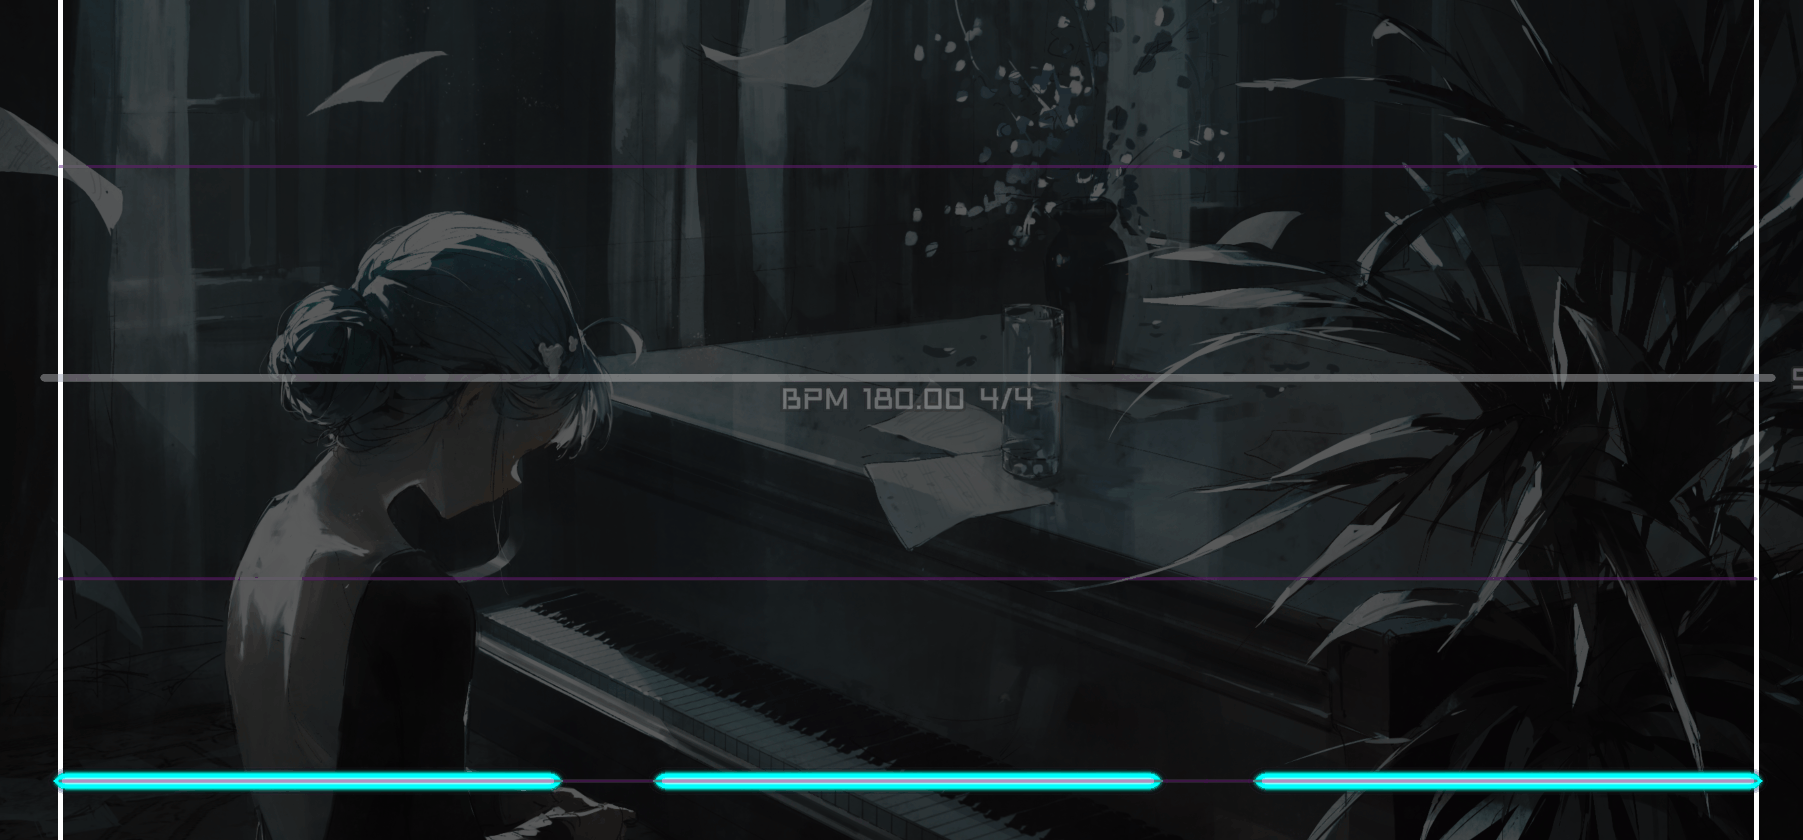
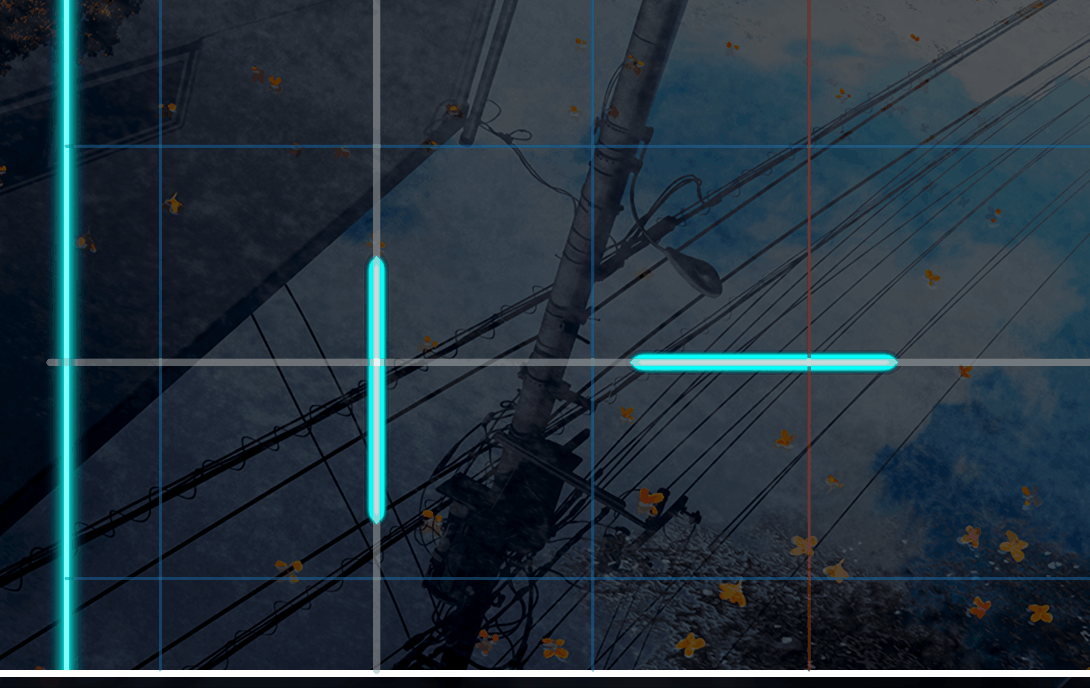
Grid Snapping and Beat Lines
To enable vertical grid snapping and beat lines, you must correctly configure Timing Points. See the Timing page for details.
Beat Lines
Note
If there are no Timing Points, beat lines will not be displayed.
Use ↓ / ← / → to adjust the beat line opacity for the corresponding editing side. There are three settings: 0%, 50%, and 100%.
Beat Line Styles
Press J to change the beat line style. There are four styles in total: Default, Uniform, Monochrome, and Classic.
In Uniform mode, all beat lines have the same length. In Monochrome mode, beat lines do not have a color.
Classic mode enables both Uniform and Monochrome styles.
Beat Subdivision (Grouping)
Press C / V to change the subdivision density of the beat lines.
Press G to toggle beat grouping.
Currently supported subdivisions include:
- Group A: Based on 1/2 and 1/3 subdivisions, including 1/4, 1/8, 1/6, 1/12, etc.
- Group B: Based on the less common 1/5 and 1/7 subdivisions, including 1/10, 1/14, 1/20, etc.
Custom Beat Subdivision
Press ` to set a custom beat subdivision of the form 1/x, where x is any valid (≥1) positive integer.
Toggling Grid Snapping
Press Z to toggle vertical (time) grid snapping.
Press X to toggle horizontal (position) grid snapping.
Editing Interface
Playback Preview
Press Enter to preview your chart from the beginning.
This will switch the editor to Playback mode. See Editing Modes for details.
Setting a Background Image
Press F4 to set a background image.
Background images can be common formats such as JPG, JPEG, or PNG.
Setting a Background Video
Press F4 to import a background video. The imported video will play without sound and only during Playback mode.
DyNode imposes some requirements on the video format. It is recommended to transcode and compress the video file. You can refer to this guide for details on processing videos.
If you use FFmpeg for video processing, you may use the following command:
ffmpeg -i input -c:v libx264 -crf 20 -preset fast -an -sn -map_metadata -1 -map_chapters -1 -vf scale=-1:720 output.mp4If FFmpeg is installed and added to your PATH, you can save this command in a file with a .bat extension and run it.
Replace input with the name of your video file (e.g., video.mp4). The command will output a transcoded video file named output.mp4 in the same folder.
Important
Before setting a background video, make sure you have transcoded it into a supported format as described above.
If you encounter issues with background videos, such as:
- Specific videos timing out during import (your video format may not be supported)
- All videos timing out during import
- Video stuttering or significant audio-video desynchronization
try saving the project and restarting the application. If problems persist, you may choose to reset the background to remove the current image/video, or try using a different background video file.
Resetting the Background
Press Ctrl+F4 to reset all backgrounds, including images and videos.
Resetting the background does not affect the files on your disk.
Toggling Between Bar Number and Time Display
Tips
Configure Timing correctly to display bar numbers.
Press Ctrl+B to switch the note display from milliseconds to bar numbers.
For details on bar numbers, see Timing/Time and Bar Number.
Delay Adjustment
You can adjust the delay for music playback and note timings separately in DyNode.
Batch Adjusting Note Times
Press -/= to quickly adjust the time of all notes in the current chart.
Press U to manually input a precise time adjustment (in milliseconds).
Note
This function adjusts the time of all existing notes and Timing Points in the chart.
DyNode adds the specified time to the time of all notes and Timing Points in the chart.
For example, if a note originally occurs 150ms after the start, and you input 30ms, the note's new time will be 180ms after the start.
This function is useful for adjusting the chart to match device playback delays.
Adjusting Device Music Playback Delay
Press Ctrl + -/= to quickly adjust the music playback delay for your device.
Note
This delay is added to the inherent MP3 delay (FMOD_MP3_DELAY) and is saved in the configuration.
This setting only affects the delay when DyNode plays music; it does not affect exported chart data.
For more details, see Timing and Configuration.
Toolbar
Press Tab to toggle the display of the top toolbar.
Music / Hit Sounds
Use the top toolbar to adjust the music and hit sound volumes.
Press Ctrl+H to toggle hit sounds.
Background Brightness
Use the top toolbar to adjust the background brightness.
Disable Pitch Shift
Use the Disable Pitch Shift option to prevent the music pitch from changing when the speed is adjusted.
Other
Chart Statistics
Press Middle Mouse Button to display chart statistics.
You can view the following statistics in order:
- BPM at the current time
- Note count statistics
- Project runtime
- Notes per second (KPS)
- The measurement window is 400ms.
- In non-preview mode, it measures notes from the current time onwards.
- In preview mode, it measures notes from the current time backwards.
Auto-save Project
Press F8 to enable auto-save.
By default, the project is auto-saved every three minutes. Auto-save will backup old project files to the backups subdirectory in the current directory.
For auto-save to take effect, you need to manually save the project at least once.
You can modify this interval using the autoSaveTime option in Configuration.
Record Chart Video
Use TAB to open the toolbar and select Record Chart Video.
Using FFmpeg's encoding capabilities, this feature renders the chart preview directly to a video file at medium-high quality based on specified specifications (default 1080P@60FPS) and current editor settings (e.g., note flow speed, particle effects). When using this feature, background videos will play at the rendering speed, and any previously set music speed multiplier will be ignored. All input operations are locked during recording.
DyNode will automatically detect encoder availability and prioritize system-supported hardware acceleration and H.264 encoding.
How to check if FFmpeg is installed correctly?
This feature requires an environment where FFmpeg is installed. For example, on Windows 11, you can right-click the "Start Menu," select "Terminal," and enter the following command to check FFmpeg's availability.
ffmpeg -versionIf the output shows ffmpeg version ..., it means FFmpeg is installed correctly. Otherwise, FFmpeg is not properly configured in your environment, and DyNode cannot call it to support this feature.
You can use the following command to quickly install FFmpeg. After installation, restart the terminal and use the command above again to check if FFmpeg is installed correctly.
winget install --id Gyan.FFmpeg --source wingetAfter installing FFmpeg, if DyNode is still running, you need to restart DyNode for it to correctly recognize the newly installed FFmpeg path.
Fullscreen Mode
Press F7 to toggle borderless fullscreen mode.
Changing the Chart Title
Press Ctrl+T to change the chart title.
Want to use Scribble's formatting tags?
Simply include [_scribble] anywhere in the title. The title will then be parsed using Scribble's string formatting.
Changing Chart Difficulty
Press Ctrl+O/P to change the chart difficulty.